I normally bring my DSLR camera with me whenever I go on a trip, but in an attempt to pack a bit lighter and be present with our family, I decided to leave it to leave it home. It’s been said that “the best camera if the one that you have” and while that is debated, cell phone cameras have come a very long way. While I didn’t go out of my way to take artsy photographs, I did capture some moments in a more thoughtful way with my cell phone as I saw an opportunity. I enjoyed the challenge and found myself practicing the very tips I do with my DSLR. Here are some random cell phone photos from our family trip to Ana Maria Island, along with some tips about how to take better cell phone pictures.
Look for good lighT

This one was a quick snap because of the girls’ movement but I wanted to catch my nieces in the moment. When kids notice someone taking a picture, their smile generally changes and is more of a cheesy grin. Those photos can be cute but I wanted to capture what was happening in that moment.
Notice there aren’t any eyes squinted because the sun is too bright. There also aren’t weird shadows casted underneath the eyes or under the chin that typically comes when shooting at high noon. This was taken just before sunset and it was a partially cloudy day which just softens everything. I love the colors of the scene and ended up taking several photos in this spot because the lighting was just perfect!

In this example, while there isn’t lighting from the sun, there is decent lighting. What you don’t want, however, is mixed lighting whether that be from the sun and a lamp or from two different types of lamps. (Every artificial light has its own temperature color…some are warm and some are cool so when you mix things it requires special editing to fix the colors. If you’re in one of those situations, you’re better just editing the photo to be black and white.)
MAINTAIN straight lines

Unless you’re trying to purposefully shoot at an angle, I always try to keep my ceiling and floor lines balanced as it helps the photo appear cleaner and neater. This was something a photography mentor taught me years ago and I can’t help but notice when the lines are slightly angled or off in other people’s photos.

Here’s another example of shooting straight lines but while being outside. Notice the lines on the buildings are vertical and the horizon line isn’t angled. Sometimes an easy fix to angled lines is to either move your feet or just tilt the camera a little more forward or backward. You can also do minor adjustments in post processing software like Adobe Lightroom.
Use Portrait Mode for Focused Scenes

This was when my niece decided she wanted to get her ears pierced. Notice her cute, concerned look-ha! She didn’t actually end up going through with it but this was a sweet moment with a lot going on. By utilizing my camera’s portrait mode, I was able to focus on my niece and catch her parent’s expression, while blurring out the ear-piercer in the foreground. Shooting like this helps you see what is happening throughout the scene while drawing your eye to the main subject.
Also, do note: I don’t have the latest and greatest iPhone but my 14Pro does shockingly well in portrait mode. Your phone may be different but all I have to do is touch the subject and it will lock the focus into place.
Think about Composition

Okay, I’ve seen way too many reels where people are trying to film or photograph and animal and then the animal attacks them. I tried to proceed with caution knowing it was me against all these birds but I survived.
Composition is how one chooses to frame a subject within the photo. I could’ve photographed them with the water in the background but I really wanted to keep the warm colors of the sand and the white feathers of the birds together. I also loved how the three birds on the right fell in line when I stood at this angle. Also, notice how the number of birds is balanced throughout the photo. Because the 3 birds are closer to the camera, they appear bigger than the 4 that are further, yet it all works out nicely because the length of space they take up in the picture is similar.

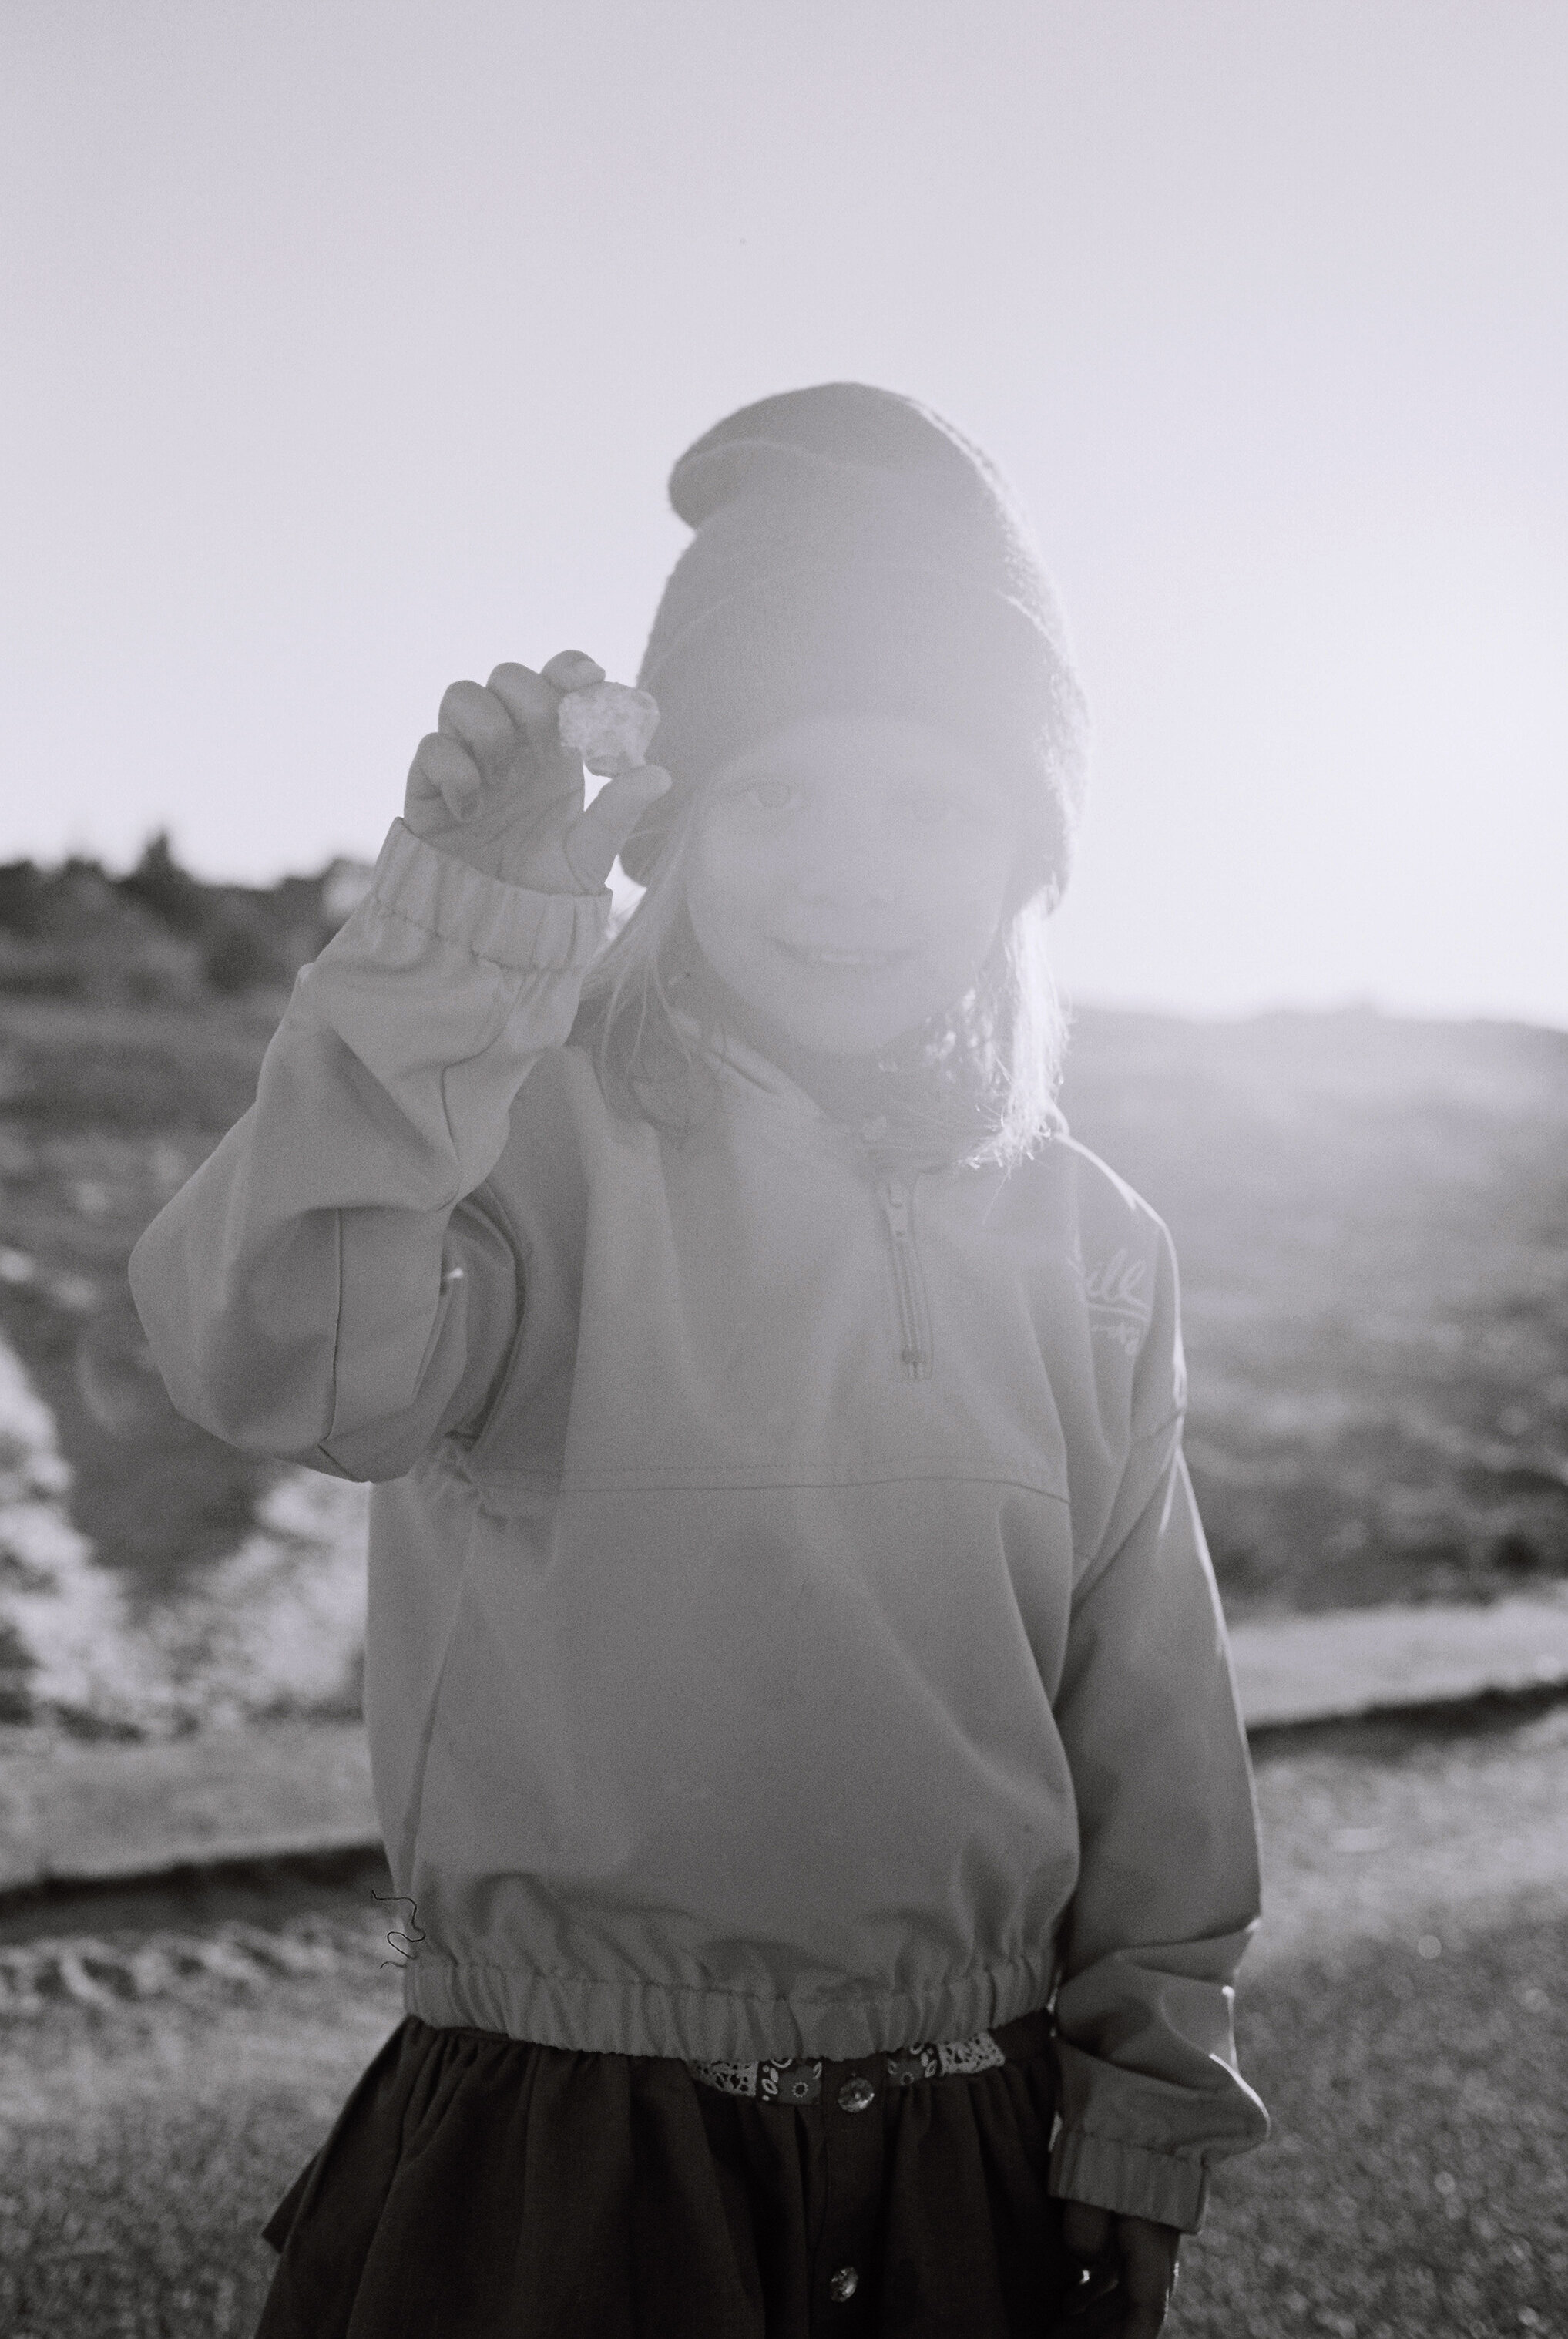
Cora scooped up a pile of shells and from a normal vantage point, it looked nothing more than that. She then turned to me and said, “Mom! It’s a heart!” I told her not to move and snapped this picture. In the art world, having “eyes to see” means noticing patterns, shapes, textures, and more.
Rather than shooting from eye level, I chose to position my phone camera over top of her to get this shot. I also think this photo look extra cool because of the colors and pattern of the jacket my daughter borrowed from her cousin. The beauty happens when a lot of small beautiful details come together in one space.
Catch People in the MomenT

In this photo, my mother-in-law just told her son-in-law that she had a really great trip with him. It was a cute moment and I immediately pulled out my camera and said, “Let’s commemorate this with a picture!” There were natural smiles all around and this is probably one of my favorite pictures from the trip. (Again, here is portrait mode for the win.)
STICK WITH A COLOR PALETTE

Ok, this is definitely a preference and more of an opinion but it’s something that has helped me develop consistency within my own photographs. Many years ago, I wondered why my photos weren’t as consistent as some of the photographers I followed, but as I studied their photos I realized that their style was carried into their home, location choices, lighting, and wardrobe.
Focusing specifically on wardrobe, I’ve found that when you stick to a certain color palette, not only does it make your entire wardrobe work as a mix and match capsule wardrobe, but it also means everyone in the family generally matches. Even though I love earth tones, this concept applies with any color palette. If bright purple is your favorite color, find ways to always incorporate purple and you will find consistency in your photographic style, website, and feed. Notice how colorful my niece’s outfit is and yet it still matches a neutral palette. (There are ways to integrate color without it overtaking everything.)
When it comes to dressing kids, I’ve tried to strike a balance between what I like and what my kids like. As my kids have gotten older and developed their own personality, I never want to force them to be a copy and paste version of myself. This tip may seem absolutely ridiculous to some to which I would tell you that I completely understand why. Some may say this is too controlling or inorganic but we’ve made a slow shift as we’ve needed things and just been more intentional in our selection. This should never be a major point of contention within a family. My daughter still sports the occasional tiger shirt and my son lives in his soccer jerseys. :)
Don’t Stress

In between some of my favorites pictures are a few throw aways. Know that not every picture will turn out as you envision it and that’s okay. There are just certain shots that I believe are better with a DSLR, but there are a lot of great shots we don't give our cell phone cameras credit for. Take the picture and move on. Don’t stress about it (otherwise, your subjects will feel the stress and that will be reflected in the photo.) Have fun and get creative, but don’t forget to live in the moment. I’ve gotten to the point where I know my camera so well that I can sneak the shot without it becoming an all encompassing moment that detracts from the good time my family is all having together.
One final note:
I still do edit my cell phone photos in Lightroom with my personal presets that I also use whenever I edit my DSLR photos. I’m thinking about possibly selling my go-to presets which have been years in the making. Let me know if that is something you might be interested in.